Retro Vintage Paint Brush Stroke: An Embroidery Designer’s Review
When a design crosses my desk that claims to work for both digital mockups and physical decoration, I get curious. The Retro Vintage Paint Brush Stroke set—offered as high-resolution PNG files and an editable EPS—immediately caught my attention. As someone who digitizes and stiches custom apparel and handmade goods for small shop owners, I’m always looking for motifs that bring an authentic, handcrafted feel to a project. This paint stroke background promises that raw, painterly energy. But does it translate well into thread? Here’s my honest take based on real embroidery work.
First Impressions: Mood and Visual Personality
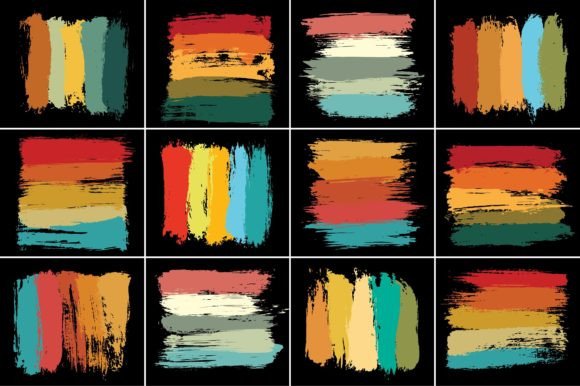
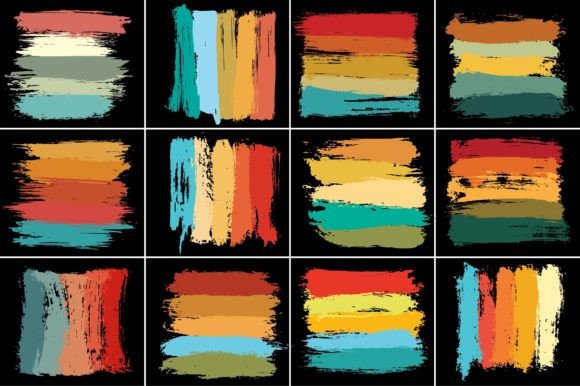
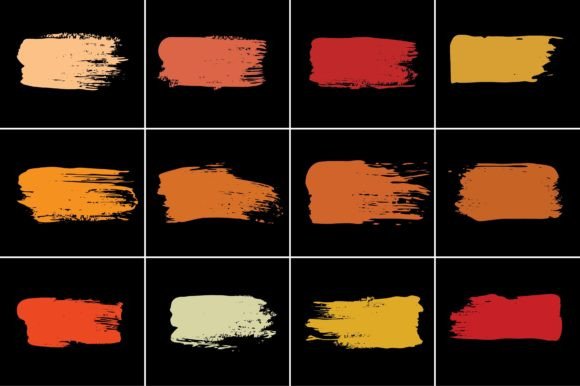
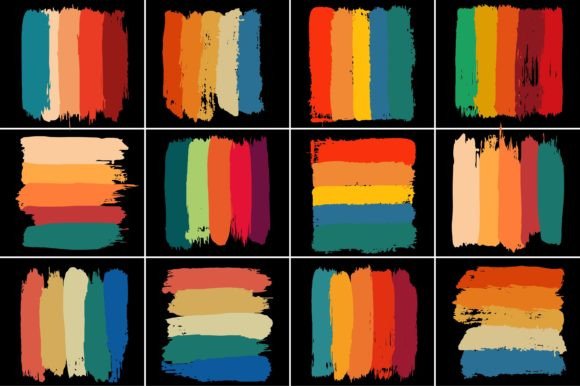
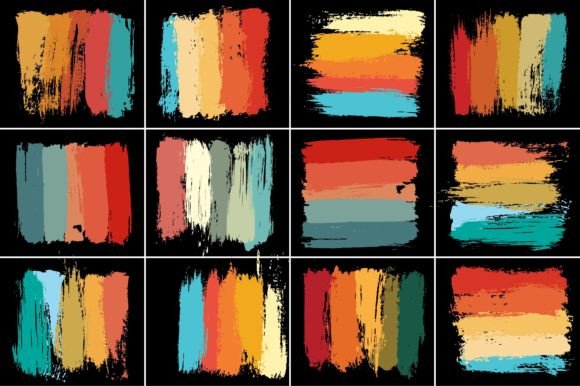
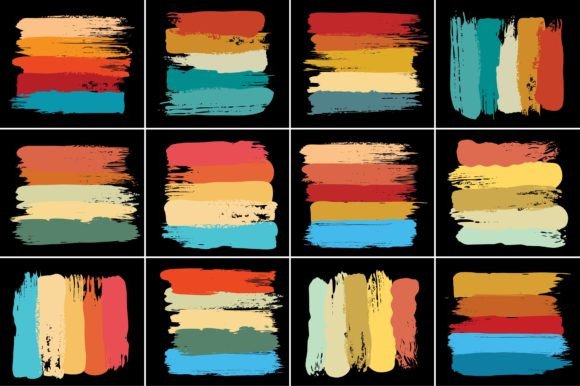
The first thing you notice is the looseness of the brush marks. These aren’t rigid, computer-perfect lines; they have texture, variation, and a slight unpredictability that mimics real ink on paper. That’s gold for embroidery design. Stiff, overly precise shapes often look cold after stitching, but a design with organic edges and uneven opacity reads as handmade—even when it’s machine embroidered.
The color palette in the samples leans warm and retro, which suits vintage-inspired apparel, home decor, and boutique packaging. But because it’s a set of transparent PNGs and a vector EPS, you can tint the strokes any solid or gradient color you like before digitizing. That flexibility is a huge plus for craft business owners who need to match brand colors or seasonal themes.
I immediately imagined this as a splash behind a bold monogram on a tote bag design, or as a subtle texture overlapping a name on a sweatshirt embroidery. The design doesn’t scream for attention—it adds atmosphere. That makes it suitable for both personalized gifts and commercial products.
Real-Life Embroidery Performance: What Works
I tested the motif in a real project: a set of custom canvas tote bags for a local coffee shop. They wanted a worn-in, paint-splatter aesthetic behind their logo. Using the Retro Vintage Paint Brush Stroke as a base, I digitized the stroke as a combination of fill stitch and satin stitch edges, with a moderate stitch density to keep it soft but solid.
Apparel and Home Decor
On medium-weight fabrics like cotton twill and denim, the design stitches beautifully. The irregular edges hide minor registration issues that often occur on stretchy or textured fabrics. For custom apparel like sweatshirts or t-shirts, the stroke works as a standalone accent or a background element. I also tried it as a small embroidered patch on a cap—using a dense fill and a narrow satin border—and the retro vibe held up well on the curved surface.
Baby and Nursery Items
Surprisingly, the soft, brush-like texture also works on baby embroidery. I reduced the scale and used pastel thread colors for a onesie and a small pillow cover. The design reads as artistic rather than childish, which appeals to parents who want modern nursery decor. On cotton muslin, I used a lighter stabilizer and reduced stitch density slightly—no puckering, and the fabric kept its drape.
Kitchen and Gift Products
For kitchen towels and aprons, the paint stroke motif adds a casual, artisan touch. I paired it with a simple wordmark in running stitch and the overall look was clean but not stiff. The design washes well because the fill stitches are compact enough to resist snagging, yet open enough to let the fabric breathe. That’s important for items that see frequent laundering.
Where to Use This Design Carefully
No design is perfect for every substrate. Here’s where I’d advise caution with the Retro Vintage Paint Brush Stroke:
- Small hoop sizes (4x4 or smaller): The brush stroke’s organic shape loses impact when scaled down too much. If you’re stitching a patch smaller than 2 inches across, the details get muddy. Either enlarge the element or use only a single stroke.
- Very thin or sheer fabrics: Dense fill stitches can show through lightweight materials like voile or performance knit. Test on a scrap first, and consider using a water-soluble stabilizer on top.
- Dark fabrics with dark thread: The design relies on contrast. If your thread color is close to the fabric, the stroke disappears. Choose a lighter or metallic thread to maintain the “painted” effect.
- Heavily textured fabrics: Fleece, terry, or thick knits can distort the stitch pattern. Use a cutaway stabilizer and reduce stitch density by 10–15%.
- Dense stitch areas near lettering: If you place the stroke behind text, make sure there’s enough clearance (at least ¼ inch) so the lettering doesn’t get lost in the fill.
Visual Appeal, Customer Trust, and Business Value
From a small shop owner’s perspective, this design helps products stand out on Etsy or at craft fairs. The hand-painted look signals quality and originality. Customers often associate irregular edges with craftsmanship, which builds trust. When I used the stroke on a line of holiday embroidery gifts—tote bags with wintery brush strokes—buyers commented on the “artistic detail.” That kind of recognition drives repeat business.
For printable mockups and digital product listings, the included PNG files are a time-saver. You can create realistic previews of embroidered items without stitching a sample first. That’s a huge advantage for digital product sellers who need to show how a design will look on an actual product. Just drop the transparent PNG onto a photo of a sweatshirt or pillow—instant professional mockup.
However, be honest with your customers about the design source. If you’re using the Crafts and Graphics assets commercially, check the license terms that came with your purchase. The seller may allow unlimited physical products but restrict digital resale. Always confirm before using the design in a commercial embroidery business or selling finished items online.
Practical Designer Notes Before Stitching
Here’s my checklist before you commit thread to fabric:
- Test on scrap fabric first. Use the same fabric type you plan to stitch on. Check stitch quality, thread tension, and registration.
- Review thread color contrast. Hold physical thread spools against the fabric, not just screen colors. The transparent PNG preview can be deceiving.
- Inspect stitch density. If the design digitizer set the fill too dense, the fabric may pucker. Aim for a density that covers the area without stiffness.
- Confirm hoop size. The artwork should fit within your hoop with at least ½ inch margin for stabilizer movement.
- Small details test. Zoom in on the edges of the brush stroke. If they’re too fine for your needle and thread, widen them in your digitizing software.
- Test black and white mockups. Convert the design to grayscale to see if the value contrast works on light and dark backgrounds.
- Use proper stabilizer. For most apparel, a medium-weight tear-away works. For stretchy fabric, add a cut-away layer.
- Verify licensing. If you’re an Etsy seller or creative entrepreneur, keep a copy of the license for your records. Don’t assume you can resell the digital files themselves.
Final Thoughts: Should You Buy It?
The Retro Vintage Paint Brush Stroke is not a traditional embroidery file—it’s a graphic design asset that you adapt for your machine. If you’re comfortable digitizing or have a reliable digitizer, this set offers enormous creative flexibility. The organic, painterly quality is hard to achieve with stock clip art, and the 12 PNG files give you plenty of variety for layering.
For an apparel decorator or handmade product maker, this design fits into multiple categories: custom apparel, personalized gifts, home decor, and even baby embroidery. It’s not a fussy, detail-heavy motif—it’s a bold, confident stroke that makes a statement without screaming. That’s exactly the kind of design that keeps customers coming back for more.
Would I use it again? Absolutely. In fact, I’m already planning a small run of embroidered patches with a retro paint drip effect, and this set will be my starting point. Just remember: test, adjust, and always double-check your stabilizer. Happy stitching.